How To Upgrade Your iPhone 14 Pro Max Storage
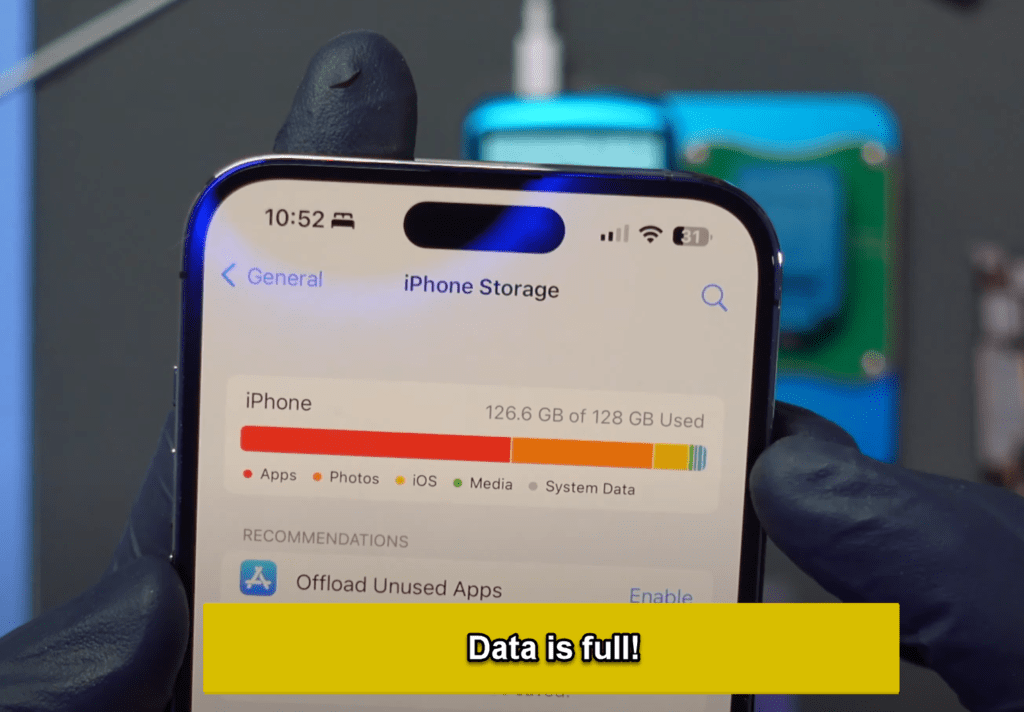
If your iPhone is getting non stop Storage Full pop ups or constantly have to be deleting old apps & data, so you can make room for new ones.
Then you most likely need more storage on your iPhone.
iPhones come with the Memory/Storage chip soldered onto the motherboard. But with the right skills, replacing it with a larger capacity version is certainly doable.
So whether you want to upgrade to 256GB, 512GB or even 1TB, the ability to do it exists.
But you would have to find someone who has experience & the skills to do it without ruining your iPhone in the process.
Below is a video of our repair shop upgrading an iPhone 14 Pro Max from 128GB to 256GB.
If you want to upgrade your iPhone storage, we can help! Message us for a quote!

This is the general steps to replace the NAND and upgrade the storage.
First if there’s important data on the phone, make sure to backup the phone through iTunes or 3u tools, so you can save all your pictures, videos, contacts, texts, notes, apps, etc. At the end of this process, we have to factory reset the phone. And you must know your iCloud account email & password.
Then we need to find a known good NAND from a matching device model, so we can pull it from. You would need to check the code number on the chip itself.
Using a program like JC Repair Assistant, you can look up the code to see what type of NAND it is, what size, what models it’s compatible with etc.
In this case, the first NAND we tried was “HN3T1D” which is Hynix 256GB from an iPhone 14.
We then proceeded to remove the original NAND from the customer’s phone. This requires the removal of the underfill around the chip. Then we use a spatula type of tool to lift the NAND without damaging it. This is very difficult & should only be done after mastering the process.
If you’re looking to master removing the NAND, I would recommend you get 5-10 dead motherboards. And just practice removing the NAND until you’re able to do it without destroying the board in the process. Unfortunately, this is the only way to really learn this skill.

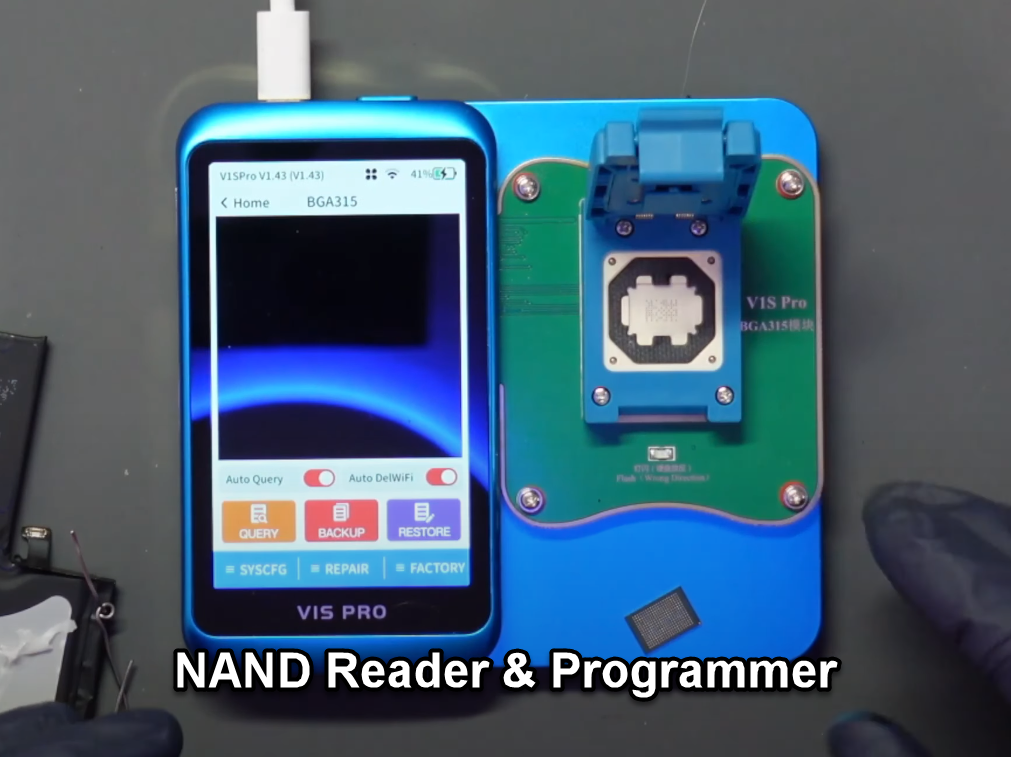
So for iPhone 12 and newer, you don’t need to pragram the NAND anymore. So once you get the replacement NAND removed, then reballed, then you can just install it on the customer’s phone. But if you want to at least test the NAND to see if it’s good, you can use the JC V1S Pro with BGA315 programmer
There’s no longer the need to configure the SYSCFG (System Configuration), which includes the Serial Number, WiFi Mac Address, Bluetooth Mac Address, Device Color, Device Model, etc. It’s just plug n play now.
In this process, you also have to clean the customer’s board & remove all the underfill. Make sure to get every little bit that you can, so when you install the new NAND, it won’t be obstructed.
Then make sure to prep all the pads with low melt solder (183C) and then wick it flat.
The replacement NAND should also be prepped. So clean all the underfill. Prep the pads with low melt solder then wick it flat. Then you can proceed to reball it.
Once the new NAND is reballed, the NAND can be soldered onto the customer’s board.
When you reassemble the phone, you’ll need to restore the phone. Essentially factory reset/wipe it and reinstall the operating system. There’s no way to transfer the user data from the original NAND onto the new NAND. This has to be done beforehand.
In the video below, I actually used an iPhone 14 NAND and it didn’t work on this iPhone 14 Pro Max. I’m not sure if the NAND itself was not compatible or I missed a step, so I ended up getting another NAND from an iPhone 14 Pro and that one worked. So just something to keep in mind if you’ plan on trying this.
Do you need to upgrade your iPhone?
Send us a message for a quote:
